How to Blur Photos on Your iPhone: A Complete Guide
Learn how to blur photos on iPhone like a pro! Our comprehensive guide covers everything from blurring the entire background to selectively blurring specific parts of a picture.
So, you’ve snapped a picture on your iPhone, but there’s something in the background that’s just a tad distracting. Maybe it’s your messy room, or perhaps there are some people milling about that you’d rather not have in the shot. No worries! We’ve got you covered on how to blur photos on your iPhone like a pro.
iPhone Background Blur
Ever wondered how some photos have that dreamy, blurred background while the main subject remains crystal clear? That’s all thanks to the iPhone’s nifty depth control feature. It allows you to selectively blur the background, drawing the viewer’s attention exactly where you want it.
Blurring the Entire Background
If you want to blur out the entire background of your photo, here’s how you do it:
- Open the Photo: Find the photo you want to edit and tap on it to open it.
- Enter Edit Mode: Tap the “Edit” option at the top-right corner of the screen.
- Adjust Depth Control: Look for the hexagon icon at the top-left corner. Tap on it, and a toolbar will appear at the bottom of the screen. Slide the toggle to adjust the intensity of the background blur until you’re satisfied.
- Fine-Tune the Blur: You can further refine the blur effect by adjusting the lighting effects using the tools provided.
Blurring Part of a Picture
Sometimes, you might only want to blur out a specific portion of a photo. Here’s how you can do it using the Markup tool:
- Open the Photo: Again, find the photo you want to edit and enter Edit mode.
- Access Markup: Tap on the pencil tip icon at the top-right corner to enter Markup mode.
- Add Blur: Tap the “+” button at the bottom-left corner and select “Add shape.” Choose the shape that best fits the area you want to blur.
- Customize Blur: Adjust the size and shape of the blur using the blue toggles. You can also customize the border brightness, thickness, and color.
- Apply Blur: Once you’re happy with the blur settings, tap “Done” to save your changes.
Why Blur Photos on an iPhone?
You might be wondering why bother blurring photos in the first place. Well, there are several reasons:
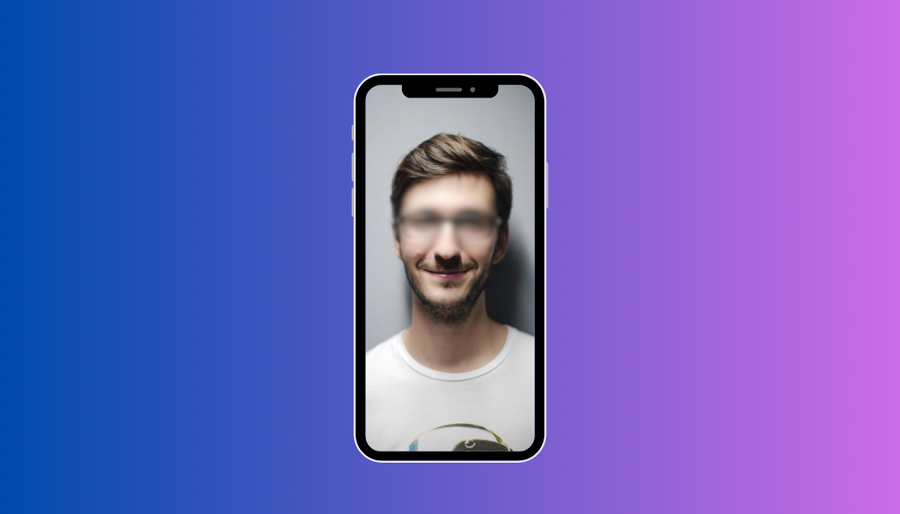
- Privacy: Blur out sensitive information like ID numbers or faces to protect your privacy when sharing photos.
- Aesthetics: Create a more visually appealing image by focusing on the main subject and blurring distracting background elements.
- Security: With the rise of AI and facial recognition technology, it’s important to be cautious about what information your photos might reveal.
Number Phone SurfSafeVPN
Blurring photos on your iPhone is a breeze with ForestVPN! Whether you want to hide sensitive information, enhance the aesthetics of your images, or simply protect your privacy online, ForestVPN has got you covered. With our comprehensive guide, you’ll learn how to blur photos like a pro in no time. So why wait? Start blurring with ForestVPN today and take control of your digital privacy! Check out ForestVPN now.
FAQs about iPhone Photo Blurring
1. Can I undo the blur effect after applying it?
Yes, if you’re using the depth control feature, you can always go back and readjust the blur intensity or even remove it entirely.
2. Will blurring a photo reduce its quality?
In most cases, no. The iPhone’s depth control feature preserves the overall image quality while selectively blurring the background.
3. Can I blur photos on older iPhone models?
Yes, as long as your iPhone supports the portrait mode feature, you should be able to blur photos using the methods outlined above.
4. Are there any third-party apps for more advanced blurring options?
Certainly! There are plenty of photo editing apps available on the App Store that offer a wide range of blurring effects and customization options.
5. Is blurring photos legal?
Generally, yes. However, if you’re blurring out copyrighted material or using the blur effect for deceptive purposes, you might run into legal issues.