How to Keep Your iPhone Location History in Check
Discover how to check and clear your iPhone's location history effortlessly. Take control of your privacy with ForestVPN.
So, you’ve been cruising around town, popping into cafes, and making the most out of life. But did you know your iPhone has been quietly keeping tabs on your every move? Yeah, it’s like having your own personal stalker, but it’s not as creepy as it sounds. Your iPhone’s location history can actually be a lifesaver if you ever misplace your beloved device. But hey, we get it, privacy matters. So, let’s dive into how you can take control of your iPhone’s location tracking without feeling like someone’s watching your every step.
Checking Your iPhone’s Location History
Step 1: Accessing the Settings
First things first, let’s head over to your iPhone’s settings. Scroll down until you find the holy grail of privacy and security.
Step 2: Going to Location Services
Once you’re in the privacy and security section, tap on “Location Services.” It’s like the backstage pass to where all the action happens.
Step 3: Significant Locations
Now, it’s time to get down to the nitty-gritty. Scroll down and tap on “System services,” then make your way to “Significant locations.” Brace yourself, because here’s where the magic (or the revelation) happens.
Step 4: The Big Reveal
You’ll probably be prompted to prove your identity with your Apple ID or Touch ID. Once that’s out of the way, behold! Your iPhone’s location history unveiled right before your eyes.
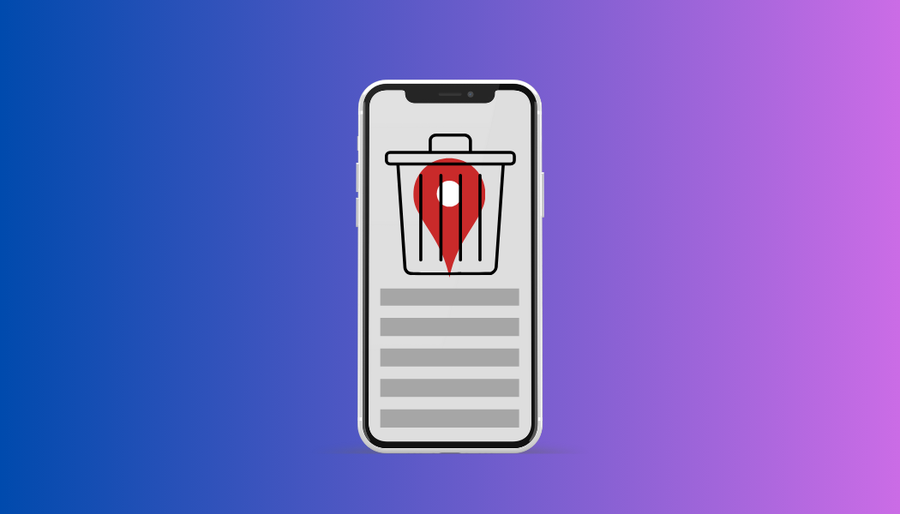
Clearing Your iPhone’s Location History
Step 1: Back to Settings
If the idea of your iPhone playing detective doesn’t sit well with you, fear not. Head back to settings and revisit the privacy and security section.
Step 2: Location Services Redux
Tap on “Location Services” again. It’s like déjà vu, but with a purpose.
Step 3: Bid Farewell to Significant Locations
Scroll down to “System services” once more and revisit “Significant locations.” It’s time to say goodbye to those sneaky records.
Step 4: Wiping the Slate Clean
With a tap of your finger, bid adieu to your location history by selecting “Clear history.” It’s like hitting the reset button on your iPhone’s memory.
Taking Charge of Google Location History
So, you’ve tackled your iPhone’s snooping tendencies, but what about Google Maps? Here’s how to reign in Google’s tracking habits.
Checking Google Location History
Open up the Google Maps app and tap on your profile picture. From there, navigate to “Your Timeline” to peek into your past adventures.
Deleting Google Location History
Don’t want Google to hold onto your every move? No problem. Head to “Your Timeline” again, tap the three-dot icon, and select “Settings and privacy.” From there, bid farewell to your location history forever.
Disabling Location Settings in Google Maps
Had enough of being in Google’s spotlight? Take back control by turning off location history. It’s as simple as tapping a few buttons in the settings menu.
Bonus Tip: Enhancing Your Privacy with a VPN
Worried about prying eyes and sneaky hackers? Enter the hero of the digital age – a VPN. With ForestVPN, you can cloak your online activity, keeping it safe from prying eyes. Say goodbye to snoops and hello to peace of mind.
DMVPN EIGRP phase
DMVPN (Dynamic Multipoint Virtual Private Network) with EIGRP (Enhanced Interior Gateway Routing Protocol) phase refers to a stage in the deployment of DMVPN where EIGRP is utilized as the routing protocol. In this phase, EIGRP is configured to distribute routes across the DMVPN network dynamically, facilitating efficient routing between multiple locations. EIGRP’s features, such as fast convergence and scalability, make it well-suited for dynamic VPN environments like DMVPN. ForestVPN offers robust support for DMVPN deployments, including EIGRP integration, ensuring seamless and secure communication across distributed networks.
Ready to reclaim your privacy? Dive into the world of ForestVPN and safeguard your digital footprint today! Check out ForestVPN now.