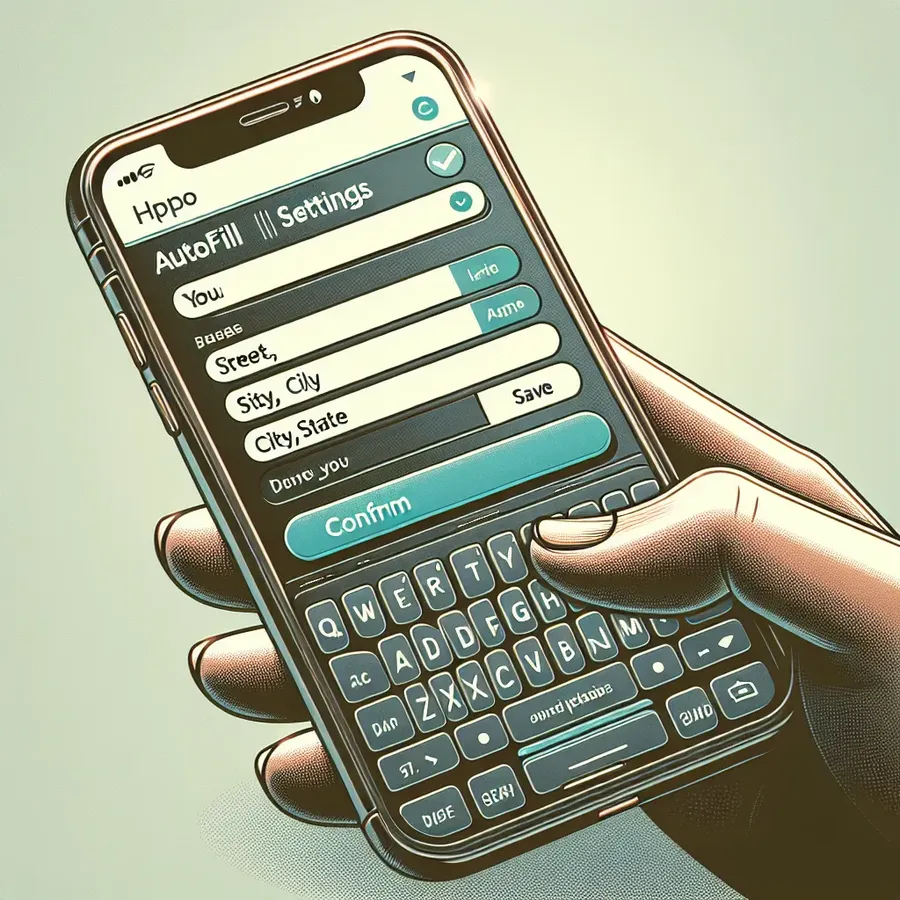
Master Your Autofill: Update Address on iPhone Easily
Learn how to edit autofill address on iPhone effortlessly. Update your contact details for a seamless online experience.
Published on November 11, 2024

Have you ever wished your iPhone could just remember your new address without the hassle? We’ve all been there, juggling multiple addresses and trying to keep our autofill settings up to date. It’s like having a digital assistant who sometimes forgets the basics. But fret not! Editing your autofill address on your iPhone is simpler than you might think, and it can save you time in the long run. Let’s dive into how you can streamline your digital life by mastering this handy feature.
Why Autofill Matters
Before we jump into the nitty-gritty, let’s take a moment to appreciate the convenience of autofill. It’s like having a personal secretary that remembers your details, saving you from the mundane task of re-entering information every time you visit a website or make a purchase. But what happens when your details change? That’s where knowing how to edit autofill address on iPhone comes into play.
How to Access Autofill Settings
To edit your autofill address, you’ll need to access your iPhone’s settings. Here’s a straightforward guide:
- Open Settings: Tap on the grey gear icon on your home screen.
- Scroll to Safari: Within the settings menu, locate and tap on Safari.
- Select Autofill: Under Safari settings, you will find the Autofill option. Tap it to proceed.
Updating Your Contact Information
iPhones use your contact card for autofill information. Here’s how you can update it:
- Open Contacts: Navigate to the Contacts app.
- Select Your Card: Tap on your own contact card at the top.
- Edit Details: Click on Edit in the top right corner. Update your address, phone number, or email as needed.
- Save Changes: Tap Done to save your updates.
Credit Card Information
Not only can you update your address, but you can also manage your saved credit card information:
- Open Settings: Navigate back to the settings app.
- Safari > Autofill: Select Saved Credit Cards.
- Edit/Add Cards: Authenticate using Face ID or Touch ID, then edit existing cards or add new ones.
Managing Passwords
Passwords can also be part of your autofill setting:
- Go to Passwords: In settings, scroll until you find Passwords.
- Edit Details: Tap the site you wish to update, and make changes as necessary.
Tips for Effortless Management
- Regular Updates: Keep your contact card updated to avoid issues with autofill.
- Security First: Use strong passwords and change them regularly. Forest VPN can help secure your online activities.
- Test Your Changes: After making updates, visit a website that requires your address to ensure changes are reflected.
User Testimonials
“I used to dread online forms until I learned how to update my autofill settings on my iPhone. It’s saved me so much time!” — Jamie L.
“Updating my address was a breeze. Now I can shop online without re-entering information every time. Highly recommend keeping your settings up to date!” — Chris R.
Forest VPN: Your Digital Shield
While managing autofill is crucial for convenience, protecting your online presence is equally important. Forest VPN offers a seamless solution for maintaining privacy and security. With its user-friendly app, not only can you enjoy a safer browsing experience, but you can also contribute to a greener planet thanks to Forest VPN’s eco-friendly approach.
Conclusion
Editing your autofill address on your iPhone is a simple yet powerful way to enhance your digital efficiency. By keeping your details up to date, you can breeze through online forms and purchases with ease. Plus, with the added security of Forest VPN, you can surf the web with peace of mind. So next time your details change, don’t sweat it—just update your autofill settings and enjoy the convenience.
How to Edit Autofill Address on iPhone
Editing your autofill address on your iPhone is easy! Follow these steps:
Steps to Update Autofill Address
- Open Settings: Tap the grey gear icon.
- Select Safari: Scroll down and choose Safari.
- Tap Autofill: Find the Autofill option and select it.
- Update My Info: Tap on “My Info” and select your contact card.
- Edit Your Details: Update your address in the Contacts app; changes sync automatically.
Enhance Your Privacy
Using Forest VPN ensures your online activities remain private while you browse. Protect your personal information and enjoy secure internet access.
FAQs about Editing Autofill Address on iPhone
How do I change my autofill address on my iPhone?
To change your autofill address, go to Settings, tap on Safari, select Autofill, and then tap on My Info to choose your contact card. Update your address directly in the Contacts app, and it will reflect in your autofill settings automatically.
Can I manage my credit card information through autofill?
Yes, you can manage your credit card information by going to Settings, then Safari, and selecting Autofill. From there, tap on Saved Credit Cards, authenticate using Face ID or Touch ID, and either edit existing cards or add new ones.
What should I do if my autofill information is incorrect?
If your autofill information is incorrect, you can update it by editing your contact card in the Contacts app. Any changes made there will automatically update in your autofill settings.
Is there a way to manage my passwords for autofill on iPhone?
Absolutely! You can manage your passwords by going to Settings, scrolling down to Passwords, and using Face ID or Touch ID to access your saved passwords. Here, you can add new passwords or edit existing ones.
How can I ensure my online information is secure while using autofill?
To enhance your online security, consider using a VPN such as Forest VPN, which can provide additional protection while browsing and filling out forms online.
