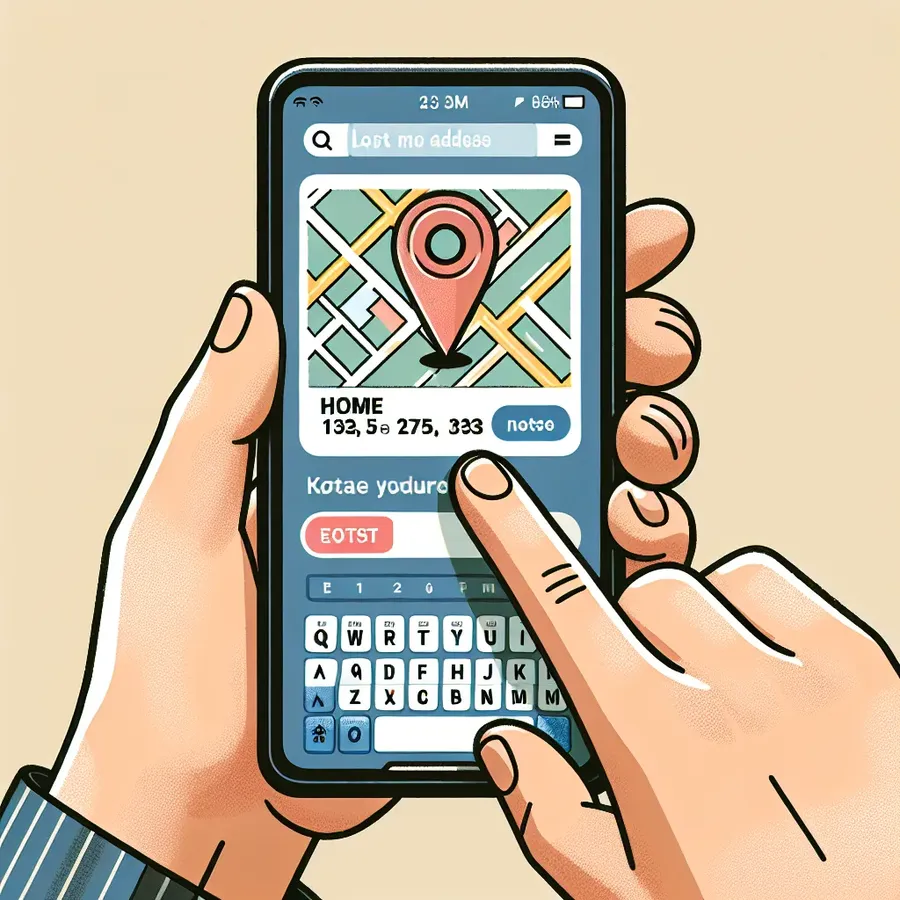
Easily Update Your Home Address in Apple Maps
Learn how to change home on Apple Maps with our easy step-by-step guide for accurate navigation.

Changing your home address on Apple Maps can be as simple as pie, yet it often feels like navigating a labyrinth. While it seems straightforward, the settings can be elusive, leaving many frustrated. But fret not, for we’re here to demystify the process and guide you through it with ease. Let’s dive right into how to change your home on Apple Maps, ensuring you never end up at the wrong doorstep again.
Understanding Apple Maps and Your Home Address
Apple Maps uses the information stored in your Contacts app to identify your home address. This means any changes to your home address must be made through your personal contact card. Here’s how you can make those changes seamlessly.
Step-by-Step Guide to Changing Your Home Address
- Open Your Contacts App
– Navigate to your Contacts app on your iPhone.
– Locate your contact card, usually labeled with “My Card.” - Edit Your Home Address
– Tap on “Edit” in the upper right corner.
– Scroll down to the Addresses section and update your home address.
– Ensure the spelling and punctuation match official records to avoid misdirection. - Save Changes
– Once updated, tap “Done” to save your changes.
– Confirm the changes by checking if your location reflects accurately in Apple Maps.
Common Issues and Fixes
Sometimes, even after updating your address, Apple Maps might still point you to the old location. This could be due to:
- Outdated iCloud Sync: Ensure your iCloud is synced properly. Go to Settings > [Your Name] > iCloud, and toggle Contacts off and on.
- Incorrect Formatting: Double-check the formatting of your address. It should align with USPS standards.
Troubleshooting Tips
- Clear Recent Locations: Sometimes, Apple Maps caches your frequent places. Clear your history by going to Maps > Favorites > Recents > Clear All.
- Restart Your Device: A classic fix. Restarting can sometimes prompt your device to refresh its data.
Keeping Your Address Private with Forest VPN
While Apple Maps needs your home address for navigation, using a VPN like Forest VPN can help maintain your online privacy elsewhere. Forest VPN encrypts your data and masks your location, ensuring your digital footprints are secure.
Why Choose Forest VPN?
- No Data Logs: Forest VPN doesn’t retain any user activity logs, respecting your privacy.
- Eco-Friendly: It utilizes battery-saving technology, contributing less CO2 compared to competitors.
- Affordable Plans: Secure browsing at the cost of a single coffee cup a month.
Testimonials
- “Switching to Forest VPN was the best decision. I feel secure knowing my data isn’t being tracked.” – Emma T.
- “Love that it’s eco-friendly and doesn’t drain my battery!” – Jake L.
Additional Tips for Apple Maps Users
How to Change Autofill Addresses
Autofill helps streamline your online activities by auto-completing forms with your saved information. Here’s how to update it:
- Safari
– Go to Settings > Safari > Autofill.
– Ensure “Use Contact Info” is enabled and that it reflects your updated contact card. - Chrome
– Open Chrome, click the three dots > Settings.
– Tap on “Addresses and more” to edit or add new addresses.
Managing Significant Locations
Apple Maps uses Significant Locations to learn places you frequently visit. To manage this:
- Navigate to Settings > Privacy > Location Services > System Services > Significant Locations.
- Here, you can view and clear locations as needed.
Final Thoughts
Changing your home address on Apple Maps doesn’t have to be a herculean task. With these steps, you can ensure your navigation is accurate and reliable. Pairing it with a robust VPN like Forest VPN keeps your online presence safe and private. So why wait? Update your address today and enjoy seamless travels with Apple Maps.
How to Change Home on Apple Maps
To change your home location in Apple Maps, follow these steps:
- Open Contacts:
– Tap on My Card at the top. - Edit Your Address:
– Hit Edit and scroll to the Addresses section.
– Update your home address. - Save Changes:
– Tap Done to save the new address.
Keep Your Location Private
While updating your address, consider using Forest VPN to protect your privacy online. With Forest VPN, your data remains secure, and your real location is hidden from prying eyes.
Ensure your online safety today! Get Forest VPN now!
FAQs on Changing Your Home Address on iPhone
How do I change my home address in Apple Maps?
To change your home address in Apple Maps, open the Contacts app, tap on ‘My Card’, select ‘Edit’, scroll to the Addresses section, and update your home address. Don’t forget to tap ‘Done’ to save changes.
Can I set a home address in Google Maps on my iPhone?
Yes, you can set a home address in Google Maps by opening the app, tapping ‘Saved’, then ‘Labeled’, and selecting ‘Home’ to enter your new address. Just tap ‘Save’ once you’re done.
What if my home address in Apple Maps doesn’t update after changing it in Contacts?
If your home address in Apple Maps does not update, ensure your iCloud sync is working properly. You can also try clearing your recent locations in the Maps app or restarting your device.
Does changing my home address affect my autofill settings?
Yes, changing your home address in your Contacts will affect autofill settings in Safari and Chrome. Make sure to check and update the autofill settings accordingly to reflect your new address.
How can a VPN help when changing my home address on my iPhone?
Using a VPN can help protect your privacy while you manage sensitive information online, such as your home address. A VPN encrypts your data, masking your location from potential trackers.
