Instagram Account Deletion: A Step-by-Step Guide
Learn to delete or deactivate your Instagram with this quick guide to Instagram Account Deletion. Preserve memories and secure privacy easily.
Instagram Account Deletion
Have you ever felt the need to start afresh on Instagram, wiping the slate clean? There’s a whole process behind deleting or deactivating your account on this widely popular platform, and you’re not alone if you’ve found it a tad confusing. Whether you’re looking to break free permanently or just need a temporary recess, I’m here to guide you through it step by step.
How to Preserve Your Memories Before Leaving Instagram
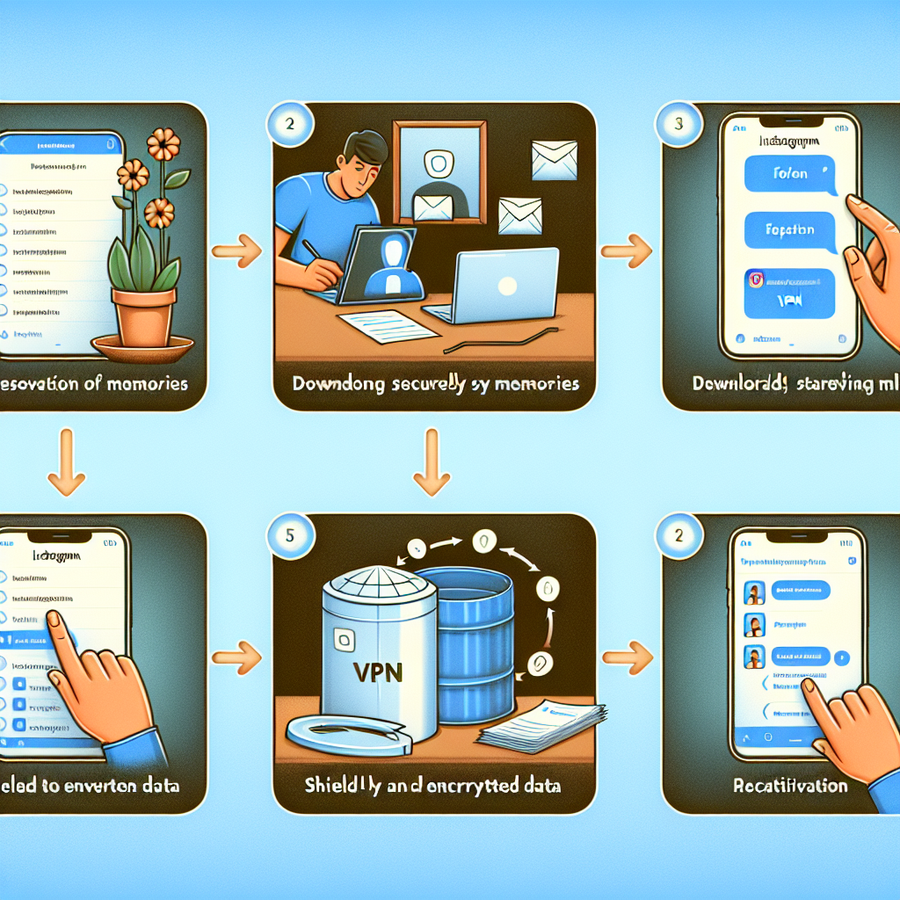
Before saying adios to your Instagram account, it’s smart to hold onto those precious moments you’ve shared. Snagging a copy of your photos and posts is dead simple:
- Head over to your profile and tap the menu (those three stacked lines, affectionately known as the ‘hamburger’) at the top-right corner.
- Next, tap ‘Your Activity’ and choose ‘Download Your Information’.
- Chuck in your email, pick a data format (HTML for easier viewing or JSON for data portability), and click ‘Next’.
- After tapping in your password, hit ‘Request Download’, and sit tight! Expect an email with all your Instagram goodies within 30 days.
Why Use a VPN During This Process?
When you’re downloading a digital copy of your Instagram life, online security should be top of mind. That’s where a VPN becomes your knight in shining armour, guarding your data like a bulldog. Connect to a ForestVPN server, and you’ll not only mask your real IP address, but you’ll also wrap your data in an impenetrable cloak of encryption. It’s an ace way to keep nosy parkers and cybercrooks at bay while accessing and deleting your account.
Cutting Ties: Permanently Deleting Your Instagram Account
To permanently delete your Instagram account, you can do it right from within the app. Some might say it’s as easy as pie:
- Whip out your phone (whether it’s an Android or an iPhone, this process doesn’t discriminate).
- You might need a minute to find the ‘Delete Your Account’ option, but perseverance is key!
- What’s great is that Instagram walks you through choosing your farewell reason, with suggestions to reconsider.
- Once you’ve done the deed, your account enters limbo for 30 days – it’s your last chance to reverse the decision.
- If you don’t come back within those 30 days, Instagram will wave goodbye and your account will be history.
Up for a Break? How to Deactivate Your Account Temporarily
Feel like taking the scenic route and just deactivating for a bit? Follow these steps:
- Instead of choosing ‘Delete account’, opt for ‘Deactivate account’.
- You’ll be asked to punch in your password and spill the beans on why you’re hitting pause.
- After confirming, your profile will vanish from Instagram till you decide to reappear.
Back in Action: Reactivating Your Instagram Account
When you’re ready to jump back into the Instagram world:
- Slot your username and password into the login page either on the app or browser.
- If you’ve got 2FA set up, you’ll cop a verification code for added security.
- If your account hasn’t been scrubbed from existence, you’re golden.
Hitting snags while logging back in? There’s always the trusty ‘Forgot password?’ to guide you through a reset.
A Quick Note on Account Reactivation
Patience is a virtue, especially when waiting for your profile to reappear. It can take a few hours for Instagram to get you back up and running. If time’s dragging and your account’s still MIA, drop a line to Instagram’s support.
Be mindful that you can only deactivate your account once a week. Just reactivated? You might have to chill your boots for a bit before you can hit pause again.
Stay Smart: Secure Your Instagram Privacy
Even on a breather from Instagram, remember that online security is no joke. Here are a few top tips for keeping your Instagram activity under wraps:
- Choose strong, unique passwords.
- Enable two-factor authentication.
- Be picky about who you follow and who follows you.
- Think twice before you share information that could be used against you.
Frequently Asked Questions
- Can I delete my Instagram from Facebook?
Absolutely! Scoot over to Privacy Centre in your Facebook settings, hit ‘See your accounts’, and ‘Manage these accounts’. It’s a piecewise process from there.
2. What if I forgot my Instagram password?
No worries! Use the ‘Forgot password?’ lifeline on the login page to reset it. Once you’re back in, you’re free to delete or deactivate as you fancy.
3. Is it possible to delete Instagram from the phone app?
Yes, and it’s a cinch! Just dive into the Meta Accounts Centre through your phone app. Finding options can be a bit tricky, but once you’re there, it’s smooth sailing.
Wrapping It Up
Tackling your Instagram account—whether you’re in for a full delete or just hitting the snooze button—isn’t as daunting as it looks. It’s all about knowing the right steps and securing your privacy along the way. Don’t forget, if ever in doubt, a VPN like ForestVPN can be your sidekick to ensure your online safety while you’re sorting this out.
Feeling ready to take the leap? Why not give ForestVPN a whirl and ensure your final Instagram moments are secure and private! Share your thoughts below, or pass on this guide if it’s helped you. Your feedback is the cherry on top we’re always looking for.
IPsec VPN Configuration in Checkpoint Firewall
Configuring an IPsec VPN on a Checkpoint firewall involves several key steps:
- Define VPN communities: These are groups of VPN participants sharing a common security arrangement.
- Configure security associations: Set the phase 1 and phase 2 parameters for encryption and authentication.
- Create VPN rules: Define the access list that specifies which traffic should be protected.
- Set up VPN domains: Assign networks that will be part of the encrypted tunnel.
- Implement shared secrets or certificates: For authentication, you can use pre-shared secrets or digital certificates.
Using these basic guideposts, the process is as follows:
- Log into the Checkpoint firewall gateway.
- Navigate to ‘IPSec VPN’ on the menu.
- Right-click on ‘VPN Communities’ to create a new community.
- Configure the ‘Community Properties’ with relevant encryption methods, shared secrets, and participants.
- Ensure that ‘VPN Domains’ are properly set for gateways.
- Add firewall rules to control the traffic within the VPN and take advantage of Advanced Settings for optimal security practices.
Detailed Configuration Steps:
IPsec VPN Configuration in Checkpoint Firewall
- STEP 1: Access the Checkpoint Gateway Object.
- STEP 2: From the navigation panel, select “VPN” and open the “VPN Communities” tab.
- STEP 3: Right-click in the main pane to create a “New Community”.
- STEP 4: Configure encryption, authentication, and tunneling settings.
- STEP 5: Define the “VPN Domain” for each participating gateway.
- STEP 6: Configure access lists in the firewall policy.
- STEP 7: Implement VPN routing for interfacing with external networks.
After the setup, always remember to Test Your VPN Connection to ensure the tunnel is established properly.
For optimizing your online privacy and security, consider using ForestVPN. It offers robust encryption, ensuring your data remains secure and private. Join the ForestVPN community for a seamless and protected online experience at our website.