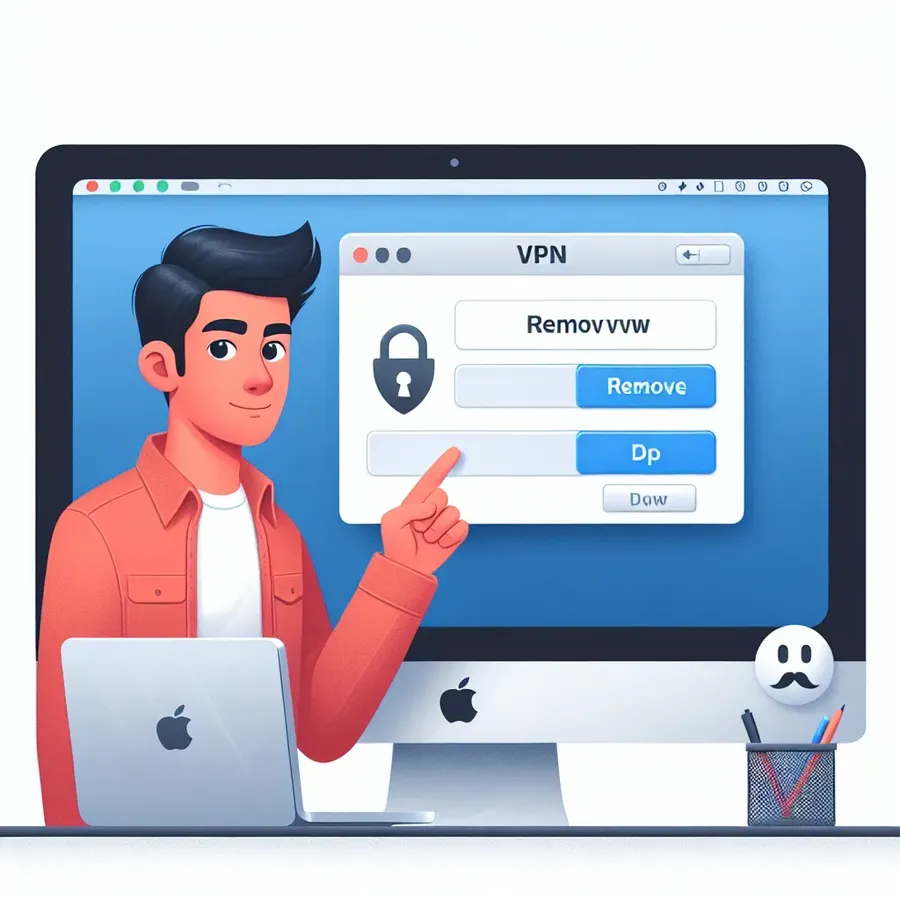
Easily Remove VPN Profiles from Your Mac
Learn how to delete VPN from Mac effortlessly with our step-by-step guide. Simplify your network management today!

In today’s interconnected world, understanding how to manage your digital tools is crucial. One common task is learning how to delete a VPN from a Mac. Whether you’re tidying up unnecessary profiles or troubleshooting connectivity issues, removing a VPN can feel like untangling a ball of yarn. But fear not, we’re here to guide you through this process with ease and clarity.
Why Remove a VPN from Your Mac?
Before diving into the “how,” let’s understand the “why.” VPNs, like ForestVPN, provide a secure tunnel for your online activities, but there might be moments when you need to remove them. Perhaps you’ve switched to another provider, or maybe the VPN is interfering with certain network functions. Whatever the reason, knowing how to efficiently remove a VPN profile is a valuable skill.
Step-by-Step: Removing a VPN Profile on macOS
Using System Preferences
- Access Network Settings:
– Click on the Apple menu in the top left corner.
– Select System Preferences > Network. - Select the VPN Configuration:
– In the left panel, find the VPN profile you wish to remove. - Remove the Profile:
– Click the minus (-) button at the bottom.
– Confirm the action by entering your administrator password if prompted.
Using Terminal for Stubborn Profiles
Sometimes, VPN profiles refuse to vanish even after using the GUI method. Here’s how to use Terminal to nudge them out:
- Open Terminal:
– Navigate to Applications > Utilities > Terminal. - List Network Services:
– Typenetworksetup -listallnetworkservicesand press Enter. This shows all network services, including your VPN. - Remove the Network Service:
– Typenetworksetup -removenetworkservice "VPN Name"using quotation marks around the VPN name as listed. - Confirm Removal:
– Re-runnetworksetup -listallnetworkservicesto ensure it’s gone.
Common Pitfalls and How to Avoid Them
- Greyed Out Remove Button: This can occur when the profile is still active. Ensure the VPN is disconnected before attempting removal.
- Incorrect Terminal Commands: Double-check for typos, particularly with quotation marks and spaces in service names.
- Profile Not Listed: If a profile doesn’t appear in Network settings, check for hidden profiles under Profiles in System Preferences.
ForestVPN: A Cut Above
If you’re looking for a reliable VPN service, ForestVPN stands out for its user-friendly interface and robust security features. Plus, it’s the only VPN with a UAE license, ensuring legality in more regions. ForestVPN’s commitment to privacy means no activity logs are stored, and its unique battery-saving technology helps reduce CO2 emissions, making it an eco-friendly choice.
Testimonials
User Experience: “Switching to ForestVPN was seamless. When I needed to remove my old VPN, the process was straightforward thanks to clear instructions. I appreciate ForestVPN’s transparency and ease of use.” – Alex T.
Tip: Always back up your network settings before making changes. This ensures you can restore configurations if needed.
Conclusion
Removing a VPN from your Mac doesn’t have to be a daunting task. By following these steps, you can confidently manage your network settings and maintain a tidy digital environment. Remember, ForestVPN is here to cater to all your VPN needs, offering secure, efficient, and environmentally conscious solutions.
By understanding how to delete a VPN from a Mac, you empower yourself to take control of your digital privacy and security. Whether troubleshooting or simply cleaning up your settings, these steps will guide you to a more streamlined computing experience. Happy browsing!
How to Delete VPN from Mac
To delete a VPN from your Mac, follow these simple steps:
- Open System Preferences:
– Click the Apple menu and select System Preferences. - Access Network Settings:
– Choose Network and find the VPN profile on the left. - Remove the VPN:
– Select the VPN and click the minus (-) button to delete it. - Confirm Removal:
– Enter your password if prompted.
For a secure and efficient VPN, consider ForestVPN. With features like no-log policy and eco-friendly technology, it offers superior privacy. Explore more at ForestVPN and safeguard your online activities today!
