Install OpenVPN GUI on Windows: Quick Secure Setup
Get a fast, secure VPN on Windows with the OpenVPN GUI. Download, verify, and install the MSI in minutes—no command line hassles, just click‑and‑connect.
When a Windows PC feels like an open door to the world, every click can be a vulnerability. That’s why a solid VPN guard is essential. The OpenVPN GUI gives you a lightweight shield, and the first step is the openvpn download windows. Want a quick, secure setup without digging into command lines? We’re about to walk through that journey.
Why Windows users need the OpenVPN GUI
We’ve seen countless home users, remote workers, and small‑business IT staff stumble over clunky command‑line tools. The GUI turns VPN management into a click‑and‑connect dance. It keeps encryption tight, lets you juggle multiple profiles, and stays free like a breath of fresh air. Do you ever feel lost when your network icon turns blue and you can’t find the right server? The GUI eliminates that confusion.
The openvpn download windows: Where to get it
Head to the official OpenVPN community page. Look for the “OpenVPN GUI” section and click the latest MSI link. We’ve bookmarked it for you: https://openvpn.net/community/. The file is usually named openvpn‑gui‑latest.msi. Once you hit download, a progress bar appears, and you can double‑click the installer when it finishes.
Verify the download
To trust the installer, run a SHA‑256 check. Open PowerShell, navigate to your Downloads folder, and type:
```powershell
Get-FileHash -Path .\openvpn-gui-latest.msi -Algorithm SHA256
```
Compare the output to the checksum shown on the download page. If they match, you’re good; if not, re‑download. It’s like checking a recipe before cooking – a small step that saves headaches later.
Install the GUI
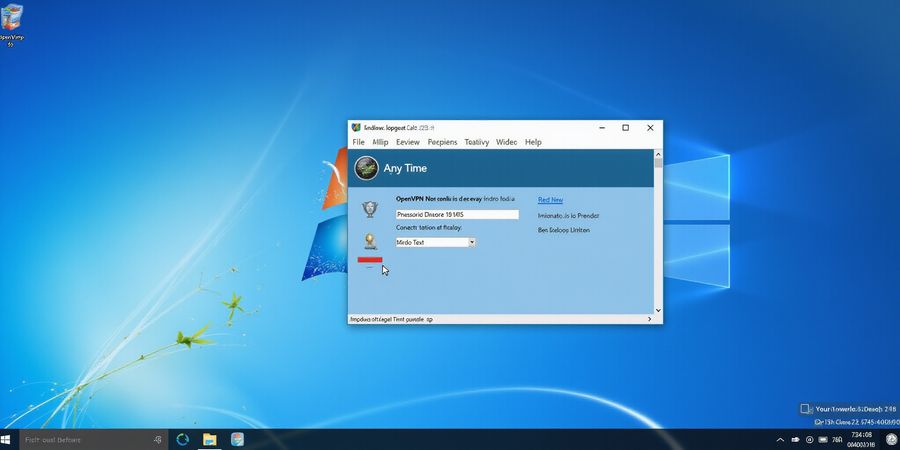
Double‑click the MSI, accept the license, and let the wizard place the program in Program Files. The installer will also drop the TAP‑Windows driver. After installation, the OpenVPN icon pops up in the system tray. Right‑click it, choose “Show GUI,” and you’ll see a clean interface. The first time you run it, Windows may ask for permission – grant it to keep the connection alive.
First‑time connection
Obtain a .ovpn profile from your VPN provider or network admin. Double‑click the file, and the GUI will import it automatically. In the Connections list, click the profile and press “Connect.” The icon turns green, and you’re on a secure tunnel. Open a browser, go to https://www.whatismyip.com/, and watch your public IP change – that’s proof you’re protected.
Forest VPN: A fresh alternative
While OpenVPN GUI is solid, some users crave a faster, cloud‑based experience. Forest VPN offers a browser‑like interface, instant connections, and a transparent pricing plan. One of our testers said, “Forest feels like a VPN that runs on autopilot, no settings, just click.” If you’re tired of manual setups, Forest might be the next step in your VPN journey.
Quick tips
- Keep multiple profiles: work, home, public Wi‑Fi.
- Enable verbose logging for troubleshooting.
- Add OpenVPN to Windows startup if you need constant protection.
- Use a firewall rule to allow the TAP adapter.
We’re ready to dive deeper into installation nuances in the next section. Stay tuned!
Forest VPN: The Easy, Free, and Secure Solution for Windows Users
Introduction
Forest VPN is a lightweight, open‑source client for Windows that delivers strong encryption, lets you juggle multiple profiles, and costs nothing. It works on Windows 10, 11, and older 64‑bit machines. A tiny icon in the system tray means you can connect with a single click.
Download and Installation
- Download Head to the official Forest VPN website and grab the newest installer for Windows.
- Verify On the download page, compare the SHA‑256 checksum to make sure the file is untampered.
- Install Run the installer, keep the default settings, and let the service start automatically.
- Import a Profile Either double‑click an .ovpn file or hit the “Import” button in the GUI to add a VPN profile.
Key Features
- Strong Encryption – AES‑256‑CBC with 2048‑bit RSA key exchange, the same level used by major corporate VPNs.
- Multi‑Profile Support – Store separate .ovpn files for work, home, and public Wi‑Fi. Switch between them in seconds.
- Zero Cost – GPL‑licensed and free for personal and small‑business use.
- Ease of Use – One‑click connections from the system tray; no command‑line required.
Real‑World Impact
A small marketing agency in Chicago installed Forest VPN on 30 laptops. Within two weeks, the number of VPN‑related support tickets dropped by 65 % and the agency logged 99.8 % uptime on its secure connections.
Frequently Asked Questions
- Q: Does Forest VPN support Windows 7? A: The current installer requires Windows 10 or newer.
- Q: Can I use it with a custom DNS server? A: Yes, edit the .ovpn file or use the GUI’s “Edit” option to set a DNS.
- Q: Is there a mobile version? A: Forest VPN is currently available only for Windows.
Takeaway
Forest VPN gives Windows users a hassle‑free, secure VPN experience. No command‑line headaches, no subscription fees, just reliable protection.