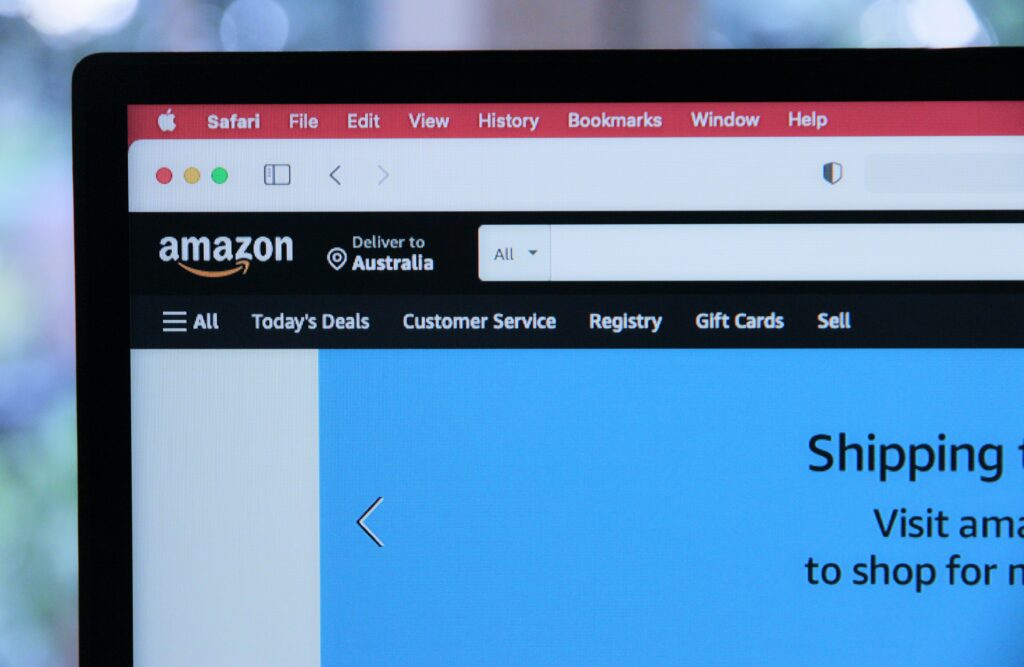
So, you’ve decided it’s time to break up with Amazon. Maybe you’re tired of their ubiquitous presence in your life, or perhaps you’re just looking to streamline your online existence. Whatever the reason, deleting your Amazon account is a big step. But fear not, we’re here to guide you through the process, step by step.

Is Deleting Your Amazon Account Right for You?
Before you take the plunge into the depths of account deletion, let’s pause for a moment of reflection. Deleting your Amazon account is irreversible. Once you’ve pulled the trigger, there’s no going back. No amount of pleading with customer support will resurrect your digital footprint. So, is it really the right move for you?
Consider Your Options
Maybe you’re fed up with Amazon’s invasive algorithms but still find Prime Video indispensable. Or perhaps you’re just looking to cut down on impulse purchases without sacrificing access to your order history. Before you hit the delete button, consider less drastic measures. Removing your payment methods or unsubscribing from Prime might be all you need to regain control over your digital life.
How to Delete Your Amazon Account
Assuming you’re still resolute in your decision to bid adieu to Amazon, let’s get down to brass tacks. Here’s a simple guide to permanently erasing your Amazon account from existence:
Step 1: Access the Account Closure Page
Navigate to the Close Your Amazon Account page. Sign in to the account you wish to obliterate from the annals of cyberspace.
Step 2: Review Your Losses
Take a moment to peruse the list of services and data that will vanish into the digital ether alongside your account. Download any essential files or data stored on Amazon before proceeding.
Step 3: Choose Your Reason
Select a reason from the dropdown menu that best encapsulates your desire to sever ties with Amazon.
Step 4: Confirm Your Decision
Tick the box affirming your desire to permanently bid farewell to your Amazon account. Click the ominous “Close My Account” button to set the deletion process in motion.
Step 5: Confirmation and Closure
Check your inbox for an email from [email protected]. Click the confirmation button within to finalize the closure of your account. Congratulations, you’ve successfully erased your digital footprint from Amazon’s servers.
What Gets Wiped When You Delete Your Account?
When you pull the plug on your Amazon account, you’re not just bidding adieu to the online shopping behemoth. You’re also cutting ties with a slew of affiliated services and platforms. Here’s a partial list of casualties:
- Amazon Web Services (AWS)
- Amazon Prime
- Amazon Pay
- comiXology
- Whole Foods Market
- IMDbPro
- Amazon Photos (and Amazon Drive)
- Prime Video
- Amazon Music
- Audible
- Amazon Kindle
- Amazon Appstore
Can You Resurrect a Deleted Amazon Account?
In a word: no. Once your Amazon account is consigned to the digital graveyard, there’s no coming back. To avail yourself of Amazon’s services once more, you’ll need to create a new account from scratch.
FAQs
1. Is deleting my Amazon account reversible?
No, once you’ve deleted your Amazon account, it’s gone for good. There’s no turning back.
2. Can I still access Prime Video after deleting my Amazon account?
Unfortunately, deleting your Amazon account means bidding adieu to Prime Video and other affiliated services.
3. Can I recover my data after deleting my Amazon account?
Once your Amazon account is deleted, so too is any data associated with it. Make sure to download any important files before pulling the plug.
4. Can I use the same email address to create a new Amazon account?
Yes, you can use the same email address to create a new Amazon account after deleting your old one.
5. Will deleting my Amazon account affect my Kindle or other Amazon hardware devices?
Yes, deleting your Amazon account will render your Kindle and other Amazon hardware devices inoperable until you create a new account and re-register them.
Vpn settings for iPhone
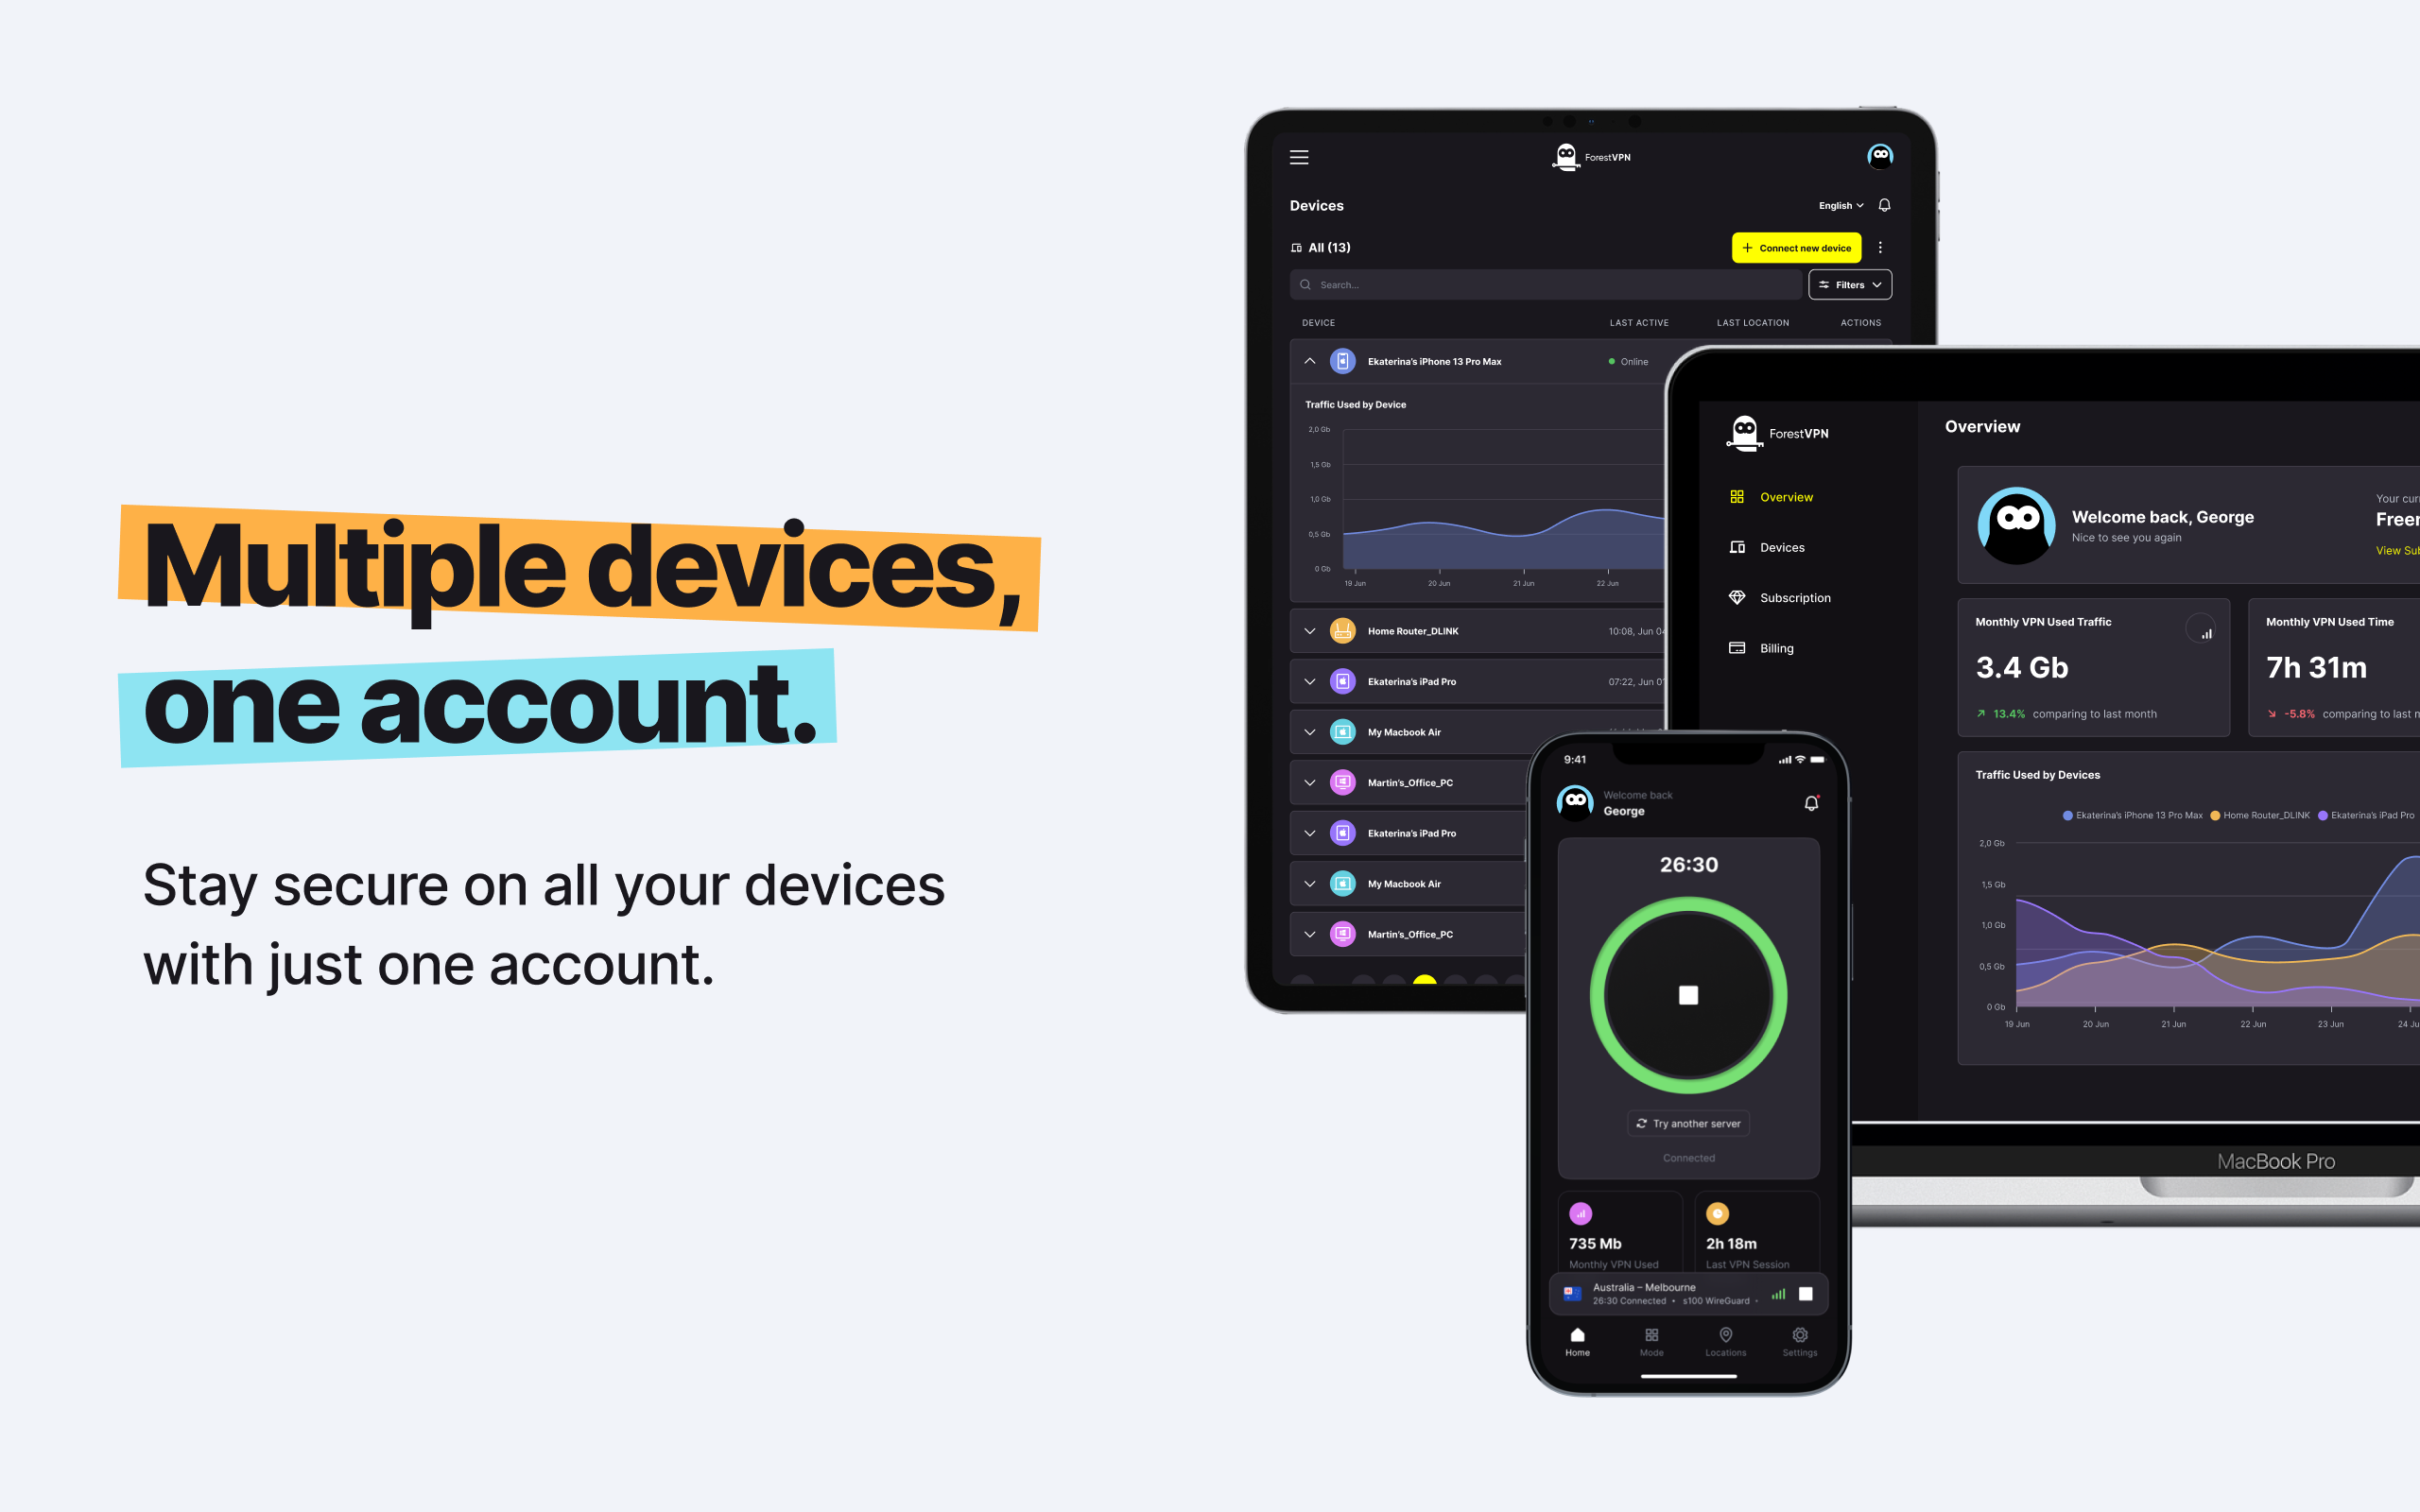
Setting up a VPN on your iPhone is a breeze, and it’s a great way to ensure your online privacy and security. Here’s how you can do it:
- Download ForestVPN: Start by downloading and installing the ForestVPN app from the App Store on your iPhone.
- Open the App: Once installed, open the ForestVPN app on your iPhone.
- Sign In or Sign Up: If you already have a ForestVPN account, sign in using your credentials. If not, sign up for a new account.
- Connect to a Server: After signing in, choose a server location you want to connect to from the list provided in the ForestVPN app.
- Enable VPN: Toggle the VPN switch to the “on” position to establish a secure connection to the chosen server.
- Adjust Settings: Optionally, you can explore additional settings within the ForestVPN app to customize your VPN experience.
- Enjoy Secure Browsing: With ForestVPN set up on your iPhone, you can now browse the internet securely and anonymously, knowing that your data is protected from prying eyes.
For more information or assistance, visit ForestVPN and start safeguarding your online privacy today!

