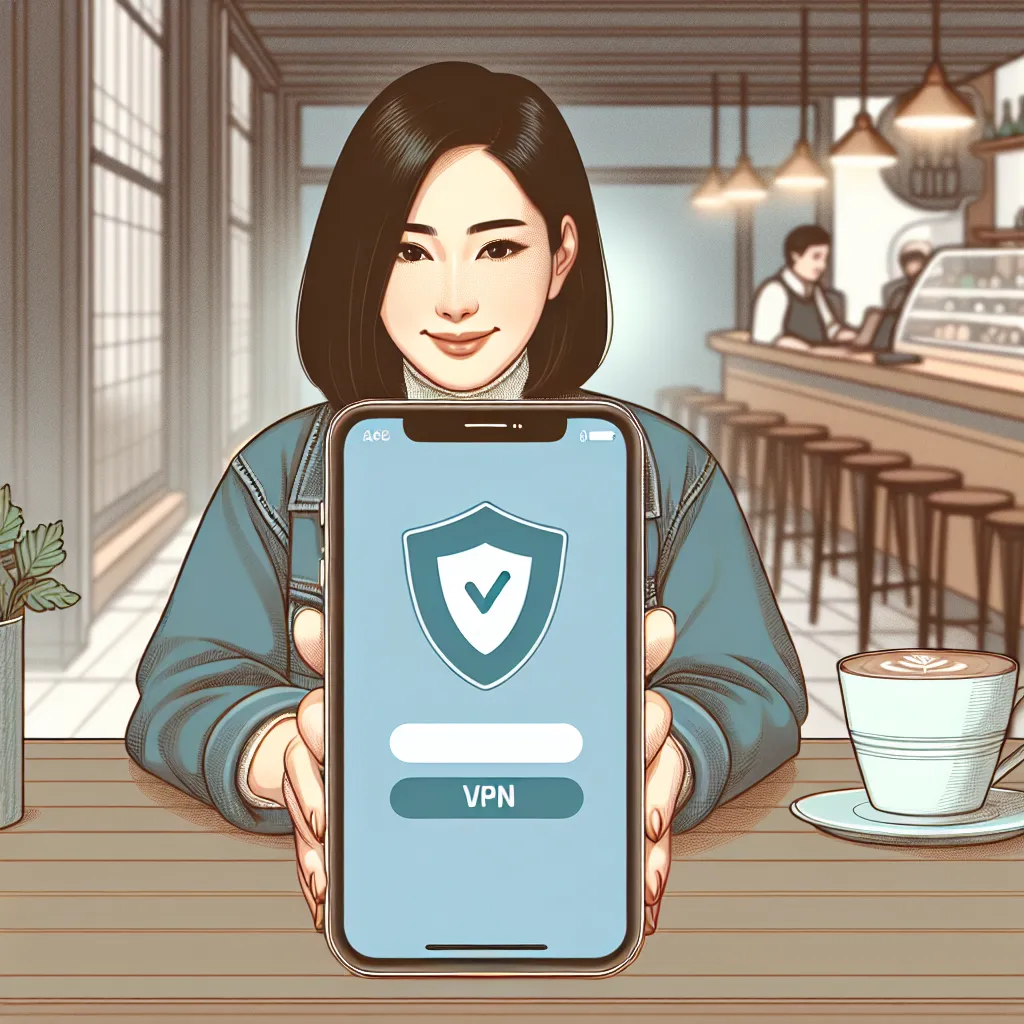
iPhone VPN Settings: Unlock the Power of Privacy

In our quest for a secure online experience, the iPhone VPN settings can be a game-changer. Many of us underestimate the vulnerabilities of our beloved iPhones, assuming they’re invincible against cyber threats. The reality is, every device is susceptible to hacking, and securing our online presence is more crucial than ever. Let’s dive into how you can harness the full potential of a VPN on your iPhone, ensuring both privacy and peace of mind.
Why You Need a VPN for Your iPhone
Protecting Your Data on Public Wi-Fi
We’ve all been there—sipping coffee at a café while checking emails on free Wi-Fi. But did you know these networks are often unencrypted, leaving your personal data exposed? With a VPN, your information is encrypted, creating a secure tunnel for your data. This means even if someone intercepts the signal, your information remains out of reach.
Traveling with Confidence
Whether you’re on a business trip or a vacation, accessing your home country’s content while abroad can be challenging. A VPN allows you to connect to servers back home, providing an IP address as if you never left. This way, you can binge-watch your favorite series without geographical restrictions.
Preserving Your Privacy
In a world where data is a new currency, protecting your privacy online is paramount. Internet Service Providers (ISPs) can track your online activity and sell that information to advertisers. A VPN ensures your browsing history remains your own, shielding you from unwanted surveillance.
Setting Up Your iPhone VPN
Downloading a VPN App
To get started, head to the App Store and download Forest VPN. This app is user-friendly and requires no technical know-how. Once installed, create an account or log in if you already have one. Forest VPN’s seamless interface makes the setup process a breeze.
Configuring VPN Settings
After installing the app, navigate to your iPhone’s settings. Here’s how:
- Go to Settings.
- Tap General.
- Select VPN & Device Management.
- Choose Add VPN Configuration.
- Enter the details provided by Forest VPN.
Pro Tip: If you’re unsure about any settings, Forest VPN’s customer support is available 24/7 to assist you.
Forest VPN: A Cut Above the Rest
Unique Features
Forest VPN stands out with its eco-friendly approach. By optimizing battery usage, it reduces CO2 emissions, contributing to a greener planet. Plus, with competitive pricing, you get top-notch security for the cost of a cup of coffee each month.
User Testimonials
Sarah J. from California shares, “Forest VPN is a lifesaver! I travel frequently, and it keeps me connected to my favorite shows wherever I am.”
Tom L., a digital nomad, says, “I value my privacy, and Forest VPN gives me peace of mind knowing my data is safe.”
Maximizing Your VPN Experience
Choosing the Right Server
Forest VPN offers over 50 locations across 30+ countries. To select the best server:
- Open the Forest VPN app.
- Tap on Location.
- Choose a server with green bars for the strongest connection.
Utilizing Advanced Features
- Split Tunneling: Customize which apps use the VPN and which don’t, optimizing your browsing speed.
- Ad Blocker: Say goodbye to intrusive ads, enhancing your browsing experience.
| Feature | Free Version | Premium Version |
|---|---|---|
| Server Locations | 2 in Europe | 50+ globally |
| Connection Time | 30 mins per ad | Unlimited |
| Bandwidth | Unlimited | Unlimited |
A Community of Support and Security
Forest VPN not only offers robust security features but also fosters a community of users who prioritize privacy and online freedom. With ongoing updates and enhancements, it remains a frontrunner in the VPN landscape.
Final Thoughts
The journey to secure your online presence begins with understanding and utilizing your iPhone VPN settings. With Forest VPN, you’re not just choosing a service; you’re embracing a lifestyle of privacy, security, and environmental consciousness. As we navigate the digital frontier, let’s do so with the confidence that our iPhones are equipped with the best protection available.
iPhone VPN Settings
Setting up a VPN on your iPhone enhances privacy and security. Here’s how to use Forest VPN effectively:
Download and Install
- Download Forest VPN from the App Store.
- Create an account or log in.
Configure Settings
- Open Settings > General > VPN.
- Add VPN Configuration with details from Forest VPN.
- Choose server location for optimal connection.
Benefits of Forest VPN
- Privacy Protection: Keeps your data secure.
- Streaming Access: Enjoy content worldwide.
- Eco-Friendly: Reduces carbon footprint.
Start your secure journey today with Forest VPN! Join Now
FAQs About VPN on iPhone
Does my iPhone have a built-in VPN?
No, iPhones do not have a built-in VPN. While there is a VPN section in the iPhone settings to manage connections, you must download a third-party VPN app, such as ExpressVPN, to access VPN services.
How do I find the VPN settings on my iPhone?
To find the VPN settings, go to Settings > General > VPN. This menu allows you to view and manage any VPN configurations you have set up on your device.
Is it advisable to keep my VPN enabled on my iPhone all the time?
Keeping your VPN on provides continuous protection by encrypting your internet traffic and enhancing your privacy. However, it may lead to faster battery drain and potentially slower internet speeds.
What should I consider when choosing a VPN for my iPhone?
When selecting a VPN for your iPhone, consider factors such as security features (like AES-256 encryption), speed, number of connected devices, ease of use, and the reputation of the VPN provider.
Can I manually configure a VPN on my iPhone?
Yes, you can manually configure a VPN on your iPhone by going to Settings > General > VPN > Add VPN Configuration. You will need the required settings from your VPN provider, such as the server address and your login credentials.
