In today’s world, where online privacy is a growing concern, many of us are turning to VPNs to shield our digital lives. But how do you effectively integrate a VPN into your iPhone settings? The process might seem daunting at first, but fear not! This guide will walk you through the steps to add a VPN on your iPhone, ensuring your data remains private and secure.
Understanding VPN and Its Importance
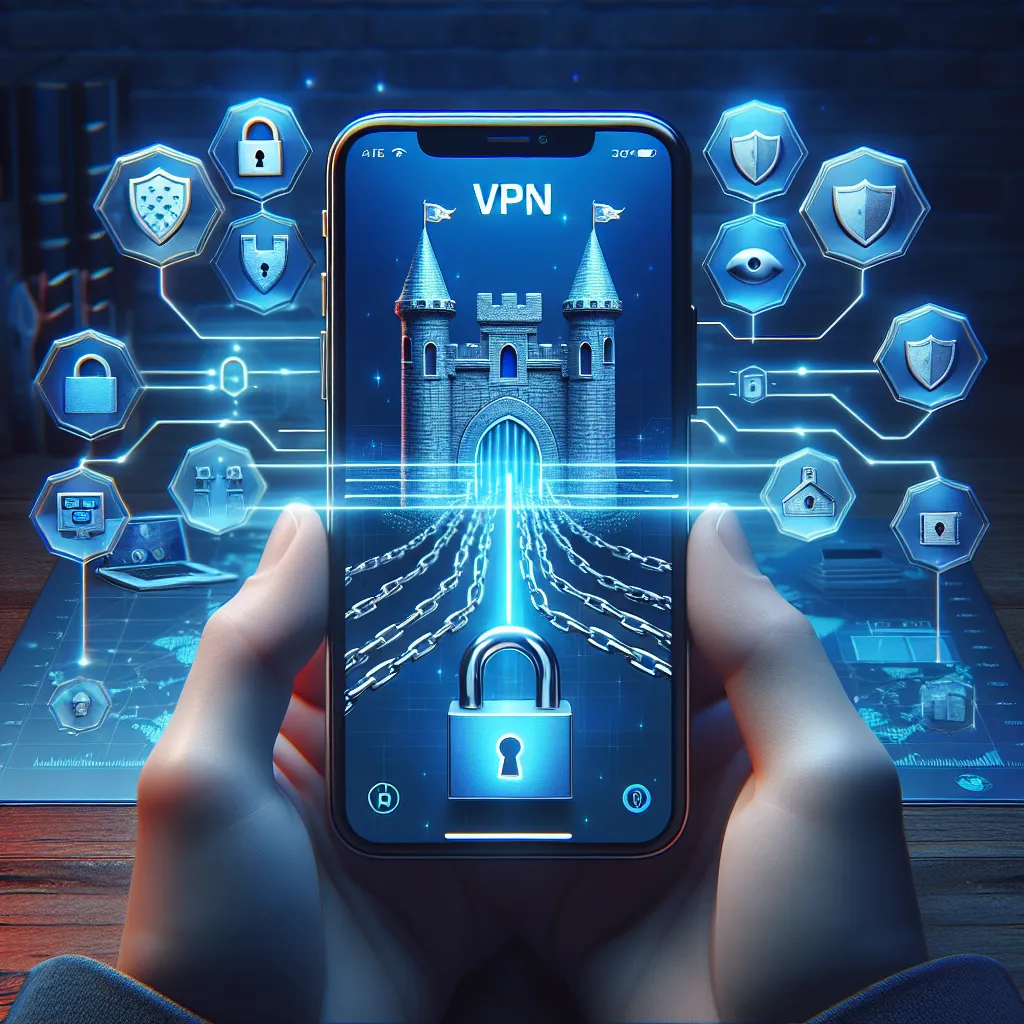
What is a VPN?
A Virtual Private Network (VPN) is like an invisibility cloak for your online activities. It masks your IP address and encrypts your internet traffic, making it difficult for anyone to track your digital footprint. ForestVPN is a popular choice due to its ease of use and robust security features.
Why Use a VPN on Your iPhone?
- Privacy Protection: Keep your browsing history and personal data safe from prying eyes.
- Access Restricted Content: Bypass geo-blocks to enjoy content from anywhere in the world.
- Secure Public Wi-Fi: Protect your data on unsecured public networks.
Step-by-Step Guide to Adding a VPN in iPhone Settings
Step 1: Choose a Reliable VPN Provider
Before configuring your iPhone, you need to pick a VPN service. ForestVPN is highly recommended for its user-friendly interface and competitive pricing. Plus, it’s UAE licensed, so it’s legal and safe to use there.
Step 2: Download the VPN App
- Visit the App Store: Search for “ForestVPN” and download the app.
- Sign Up or Log In: Create a new account or log into your existing one.
Step 3: Configure VPN Settings Manually
If you prefer manual configuration, follow these steps:
- Open Settings: Go to the “Settings” app on your iPhone.
- Select General: Tap on “General” and then “VPN & Device Management.”
- Add VPN Configuration: Hit “Add VPN Configuration.”
- Enter Details: Fill in the necessary information – choose the VPN type (IKEv2, IPSec, or L2TP), enter server info, and authentication credentials.
- Save and Connect: Save the configuration and toggle the VPN switch to connect.
Step 4: Use ForestVPN App for Easy Setup
For a hassle-free experience, use the ForestVPN app:
- Open the App: Launch the downloaded app.
- Quick Connect: Tap the “Connect” button to automatically connect to the best server available.
Advanced VPN Features with ForestVPN
Split Tunneling
Choose which apps use the VPN connection and which don’t, optimizing your internet speed and performance.
Tor Over VPN
Enhance your privacy by combining VPN with Tor, adding an extra layer of security to your online activities.
Ad Blocker
Activate the ad blocker feature to eliminate intrusive ads and enhance your browsing experience.
Testimonials from Happy ForestVPN Users
- John D.: “ForestVPN is a game-changer! Setting it up on my iPhone was a breeze and now I feel much safer online.”
- Sarah L.: “I travel frequently, and ForestVPN helps me access my favorite shows no matter where I am.”
Tips for Optimizing Your VPN Experience
- Choose the Right Server: For better speed, select a server close to your location.
- Regularly Update the App: Keep your VPN app updated for the latest features and security patches.
Conclusion
Integrating a VPN into your iPhone settings doesn’t have to be complicated. With ForestVPN, you’re only a few taps away from a more secure and private online experience. Embrace the freedom to explore the web safely and without restrictions. Happy browsing!
How to Add VPN in iPhone Settings
Adding a VPN to your iPhone is simple! Follow these steps:
Step-by-Step Guide
- Open Settings: Tap on the Settings app.
- Select General: Scroll down and select General.
- Tap VPN: Choose VPN & Device Management and then VPN.
- Add Configuration: Tap Add VPN Configuration.
- Enter Details: Fill in the required fields (e.g., Description, Server, Username).
- Save: Tap Done to save your configuration.
Recommended VPN
For a secure and user-friendly experience, try ForestVPN. It offers robust encryption and privacy features.
Get started with ForestVPN today! Sign up now for a safer browsing experience!
FAQs About Setting Up a VPN on iPhone
What is a VPN and how does it work on an iPhone?
A Virtual Private Network (VPN) on an iPhone allows you to connect to the internet securely by routing your traffic through remote servers, which hides your IP address and encrypts your internet activity, protecting your privacy from snoopers.
Why should I use a VPN on my iPhone?
Using a VPN on your iPhone enhances your online privacy, especially when using public Wi-Fi networks, allows you to access geo-restricted content, and protects your data from cybercriminals.
How do I set up a VPN on my iPhone?
To set up a VPN on your iPhone, you can either download a VPN app like ForestVPN and follow the in-app instructions or manually configure it in the Settings by going to General > VPN & Device Management > Add VPN Configuration.
Are there free VPN options available for iPhone?
Yes, there are free VPN options like PrivadoVPN Free, ProtonVPN Free, and Windscribe Free that can be downloaded from the App Store, although they may come with limitations compared to paid services.
Can I use my VPN while traveling abroad?
Absolutely! A VPN allows you to maintain access to your home country’s content by masking your IP address, making it particularly useful in countries with heavy censorship.