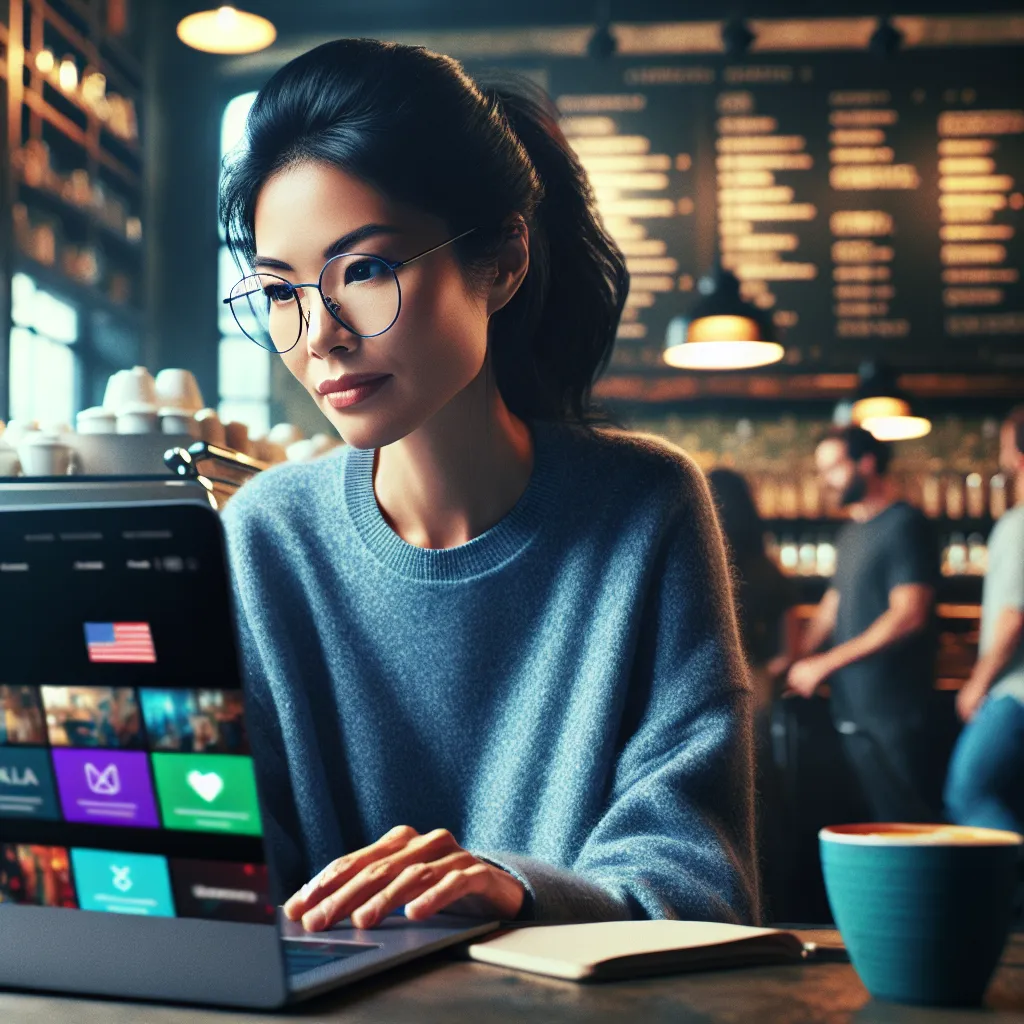
If you’re a Mac user looking to access US-exclusive content or secure a better deal on your next flight ticket, changing your VPN to the USA is the way to go. With ForestVPN, you can effortlessly switch your virtual location and enjoy a seamless browsing experience. This guide will walk you through the process of setting up and using a VPN on your Mac, ensuring that your online activities are both private and unrestricted.
Why Change Your VPN to the USA?
Changing your VPN location to the USA offers a plethora of benefits. With ForestVPN, you can:
- Access Geo-Restricted Content: Unlock streaming services like Netflix US and Hulu to enjoy shows and movies not available in your region.
- Enhance Online Security: Protect your data from hackers and surveillance, especially when using public Wi-Fi.
- Shop Smart: Take advantage of location-based discounts and deals available only to US residents.
Setting Up a VPN on Your Mac
Step 1: Choose Your VPN Provider
First, ensure you have a reliable VPN service. ForestVPN is a top choice, offering a user-friendly interface and robust security features. It’s available for download on the App Store.
Step 2: Download and Install ForestVPN
- Go to the App Store on your Mac.
- Search for “ForestVPN.”
- Click “Get” to download and install the app.
Step 3: Configure the VPN
Once installed, open ForestVPN and follow these steps:
- Open ForestVPN on your Mac: You’ll be greeted with a simple interface.
- Select the USA Server: Navigate to the ‘Location’ tab and choose a server based in the USA.
- Connect: Click the ‘Connect’ button to establish a secure connection.
Step 4: Verify Your New Location
To ensure your VPN is working correctly:
- Visit a site like whatismyip.com to check your IP location.
- Verify that it reflects a US-based location.
Tips for Optimizing ForestVPN on Mac
Use the Split Tunneling Feature
ForestVPN offers split tunneling, enabling you to choose which apps use the VPN. This is particularly useful if you want only certain apps to access the US server while others use your local internet.
How to Enable Split Tunneling:
- Open ForestVPN.
- Go to ‘Mode’ and select ‘Split Tunneling.’
- Choose the apps you want to include in the VPN.
Enable the Ad Blocker
ForestVPN’s built-in Ad Blocker can improve your browsing speed and experience by eliminating intrusive ads.
To Activate:
- Navigate to ‘Mode.’
- Toggle the Ad Blocker switch to ‘On.’
ForestVPN: Testimonials and Experience
Many users have praised ForestVPN for its ease of use and effectiveness. Here’s what some have to say:
“Switching to a US server with ForestVPN has been a game-changer for accessing content. It’s fast, reliable, and secure.” – Sarah, Digital Nomad
“I love how ForestVPN helps me secure better deals on flights. The savings alone pay for the subscription!” – Michael, Frequent Traveler
Summary
Changing your VPN location on a Mac to the USA opens up a world of possibilities, from accessing exclusive content to protecting your online privacy. With ForestVPN, the process is straightforward and efficient. Download ForestVPN today and start exploring the internet with freedom and security at your fingertips.
Frequently Asked Questions
Is it legal to use a VPN on Mac?
Yes, using a VPN like ForestVPN on your Mac is legal in most countries, including the USA.
Does ForestVPN keep logs of my activity?
No, ForestVPN has a strict no-logs policy, ensuring your online activities remain private.
Can I use ForestVPN on other devices?
Absolutely! ForestVPN is available on multiple platforms, including iOS and Android.
Stay secure and explore the digital world without borders by changing your VPN to the USA today.
How to Change VPN on Mac to USA
Changing your VPN on Mac to the USA is simple with ForestVPN. Follow these steps:
- Download ForestVPN: Install it from the ForestVPN website.
- Open the App: Launch ForestVPN on your Mac.
- Select USA Server: Navigate to the server list and choose a server located in the USA.
- Connect: Click the ‘Connect’ button.
Benefits of Using ForestVPN
- Access Geo-Restricted Content: Enjoy shows and movies exclusive to the USA.
- Enhanced Security: Protect your data from cyber threats.
Ready to experience unrestricted browsing? Get ForestVPN today!
FAQs About Changing Your VPN Location on Mac
How can I change my VPN location to the USA on my Mac?
To change your VPN location to the USA on your Mac, download a reliable VPN service like ForestVPN, install it, select a US server from the app, and connect to it. This will allow you to access US-specific content and services.
Is it legal to change my VPN location on a Mac?
Yes, it is completely legal to use a VPN to change your location on a Mac. You can do this without worrying about breaking any laws or getting in trouble with your ISP or authorities.
Can using a VPN help me access blocked streaming content?
Absolutely! By using a VPN like ForestVPN, you can hide your IP address and bypass geo-restrictions on popular streaming services such as Netflix US, BBC iPlayer, and more.
Does my Mac track my location even if I use a VPN?
Yes, your Mac may still track your location through services like Location Services. However, using a VPN will hide your IP address, thus concealing your online activities from ISPs and other entities.
What should I do if my VPN isn’t changing my location on Mac?
If you encounter issues with your VPN not changing your location, try clearing your browser cookies, using a different server, or reaching out to your VPN’s support team for assistance.