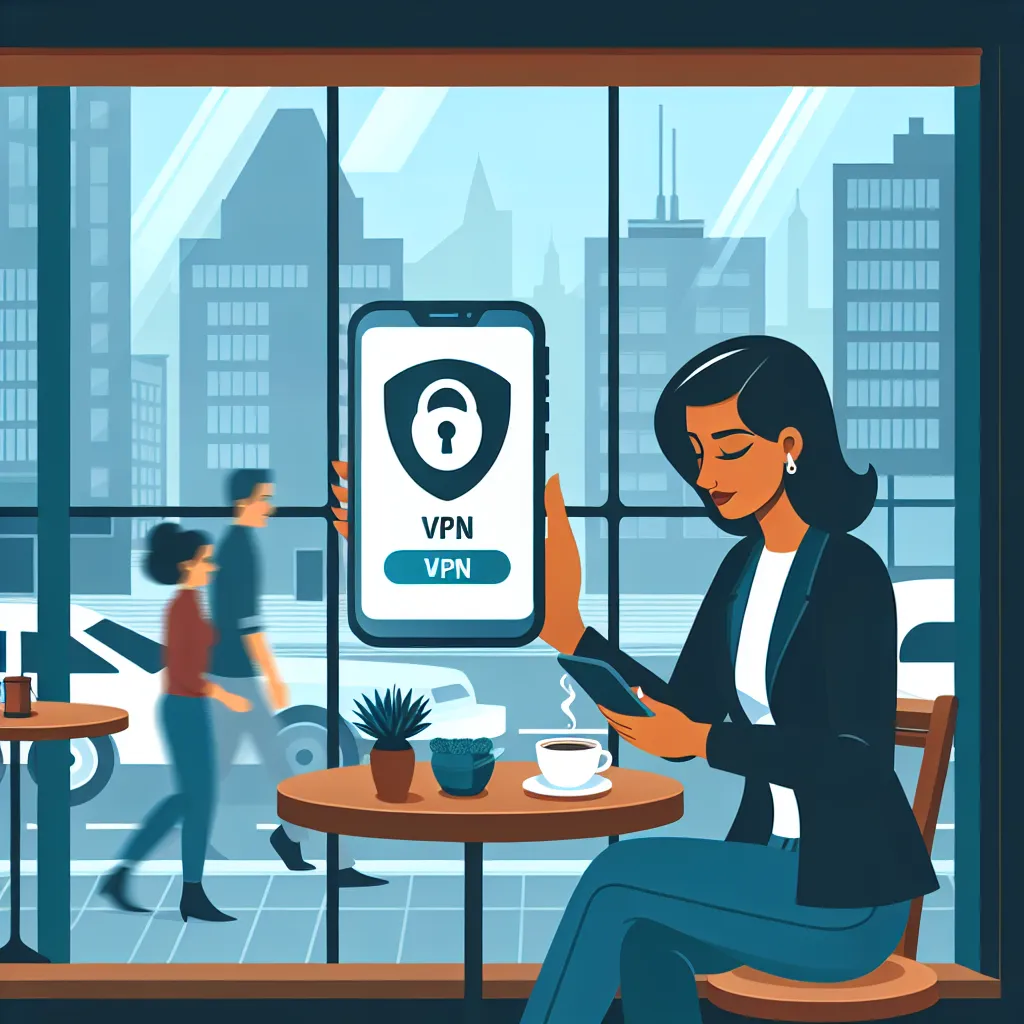
In our ever-connected world, one might think that setting up a VPN on an iPhone is complicated, but it’s actually quite simple. VPNs protect our privacy and allow access to content that might otherwise be restricted. Whether you’re browsing on public Wi-Fi or just want an extra layer of security, it’s crucial to know how to set up a VPN on your iPhone. We’ll guide you through this process, focusing on ForestVPN, an affordable and reliable service that’s also licensed in the UAE, ensuring both legality and security.

Why Choose a VPN for Your iPhone?
When it comes to securing your online activities, a VPN is your best friend. VPNs encrypt your internet connection, safeguarding your personal data from prying eyes. Moreover, services like ForestVPN offer the added benefit of reducing CO2 emissions with their energy-efficient technology. Who knew protecting your privacy could also help save the planet?
Benefits of Using ForestVPN
- Privacy Protection: ForestVPN’s no-log policy ensures your online activities remain confidential.
- Access to Geo-Restricted Content: Easily access content from around the globe.
- UAE Licensed: Rest assured that ForestVPN is legal and safe to use in the UAE.
- Eco-Friendly: Contribute to reducing global warming with their battery-saving technology.
Setting Up ForestVPN on Your iPhone
Setting up a VPN on your iPhone is as easy as pie, thanks to user-friendly apps like ForestVPN. Here’s how you do it:
Method 1: Using the ForestVPN App
- Download the App: Head to the App Store and search for ForestVPN. Tap “Get” to download.
- Sign Up or Log In: Open the app and either sign up for a new account or log in if you already have one.
- Choose a Server Location: Select a server that suits your needs, whether it’s for streaming or privacy.
- Connect: Simply tap the connect button, and you’re all set!
Method 2: Manual Configuration
Sometimes, manual setup is necessary, especially for business or educational networks.
- Open Settings: Navigate to the “Settings” app on your iPhone.
- Select General > VPN: Tap “Add VPN Configuration.”
- Enter Details: Fill in the VPN type, server address, and login credentials provided by ForestVPN.
- Connect: Once saved, toggle the VPN connection on.
How to Know if You’re Connected
- VPN Icon: Look for the VPN icon in the status bar.
- Settings Confirmation: Head back to Settings > General > VPN and check if it’s toggled on.
Optimizing Your VPN Experience
To make the most out of your VPN, here are some handy tips:
Split Tunneling
ForestVPN offers split tunneling, allowing you to choose which apps use the VPN. This feature is particularly useful for maintaining high speeds while ensuring security where it’s needed.
Ad Blocker
Activate ForestVPN’s ad blocker to enjoy a cleaner, faster browsing experience. Ads can be annoying, and this feature keeps them at bay.
Tor Over VPN
For the ultra-cautious, ForestVPN’s Tor over VPN feature adds an additional layer of anonymity. It’s like wearing a cloak of invisibility on the internet.
Testimonials
Sarah, Dubai: “ForestVPN gives me peace of mind knowing my data is secure, and I love that it’s eco-friendly!”
Ahmed, Abu Dhabi: “With ForestVPN, I can access all my favorite shows while traveling. It’s so easy to use!”
Cost-Effectiveness
ForestVPN provides premium security at a fraction of the cost. Imagine getting all these features for the price of a monthly coffee!
Table: ForestVPN vs. Traditional VPNs
| Feature | ForestVPN | Traditional VPNs |
|---|---|---|
| No-log Policy | Yes | Varies |
| Eco-Friendly | Yes | No |
| UAE Licensed | Yes | No |
| Price | Affordable | Varies |
In conclusion, setting up a VPN on your iPhone doesn’t have to be daunting. With services like ForestVPN, you’re not only ensuring your online safety but also contributing to a more sustainable future. So why wait? Secure your internet adventures today!
How to Set VPN on iPhone
Setting up a VPN on your iPhone is straightforward. Follow these steps to get started with ForestVPN:
Step-by-Step Guide
- Download ForestVPN: Find it in the App Store and install the app.
- Create an Account: Open the app and sign up for a new account.
- Select a Server: Choose a server location that suits your needs.
- Connect: Tap the connect button to activate your VPN.
Benefits of Using ForestVPN
- Privacy Protection: Keeps your online activities secure.
- Eco-Friendly: Helps reduce carbon emissions.
- UAE Licensed: Safe and legal to use.
Ready to enhance your online security? Get ForestVPN today!
FAQs about Setting Up a VPN on Your iPhone
Does my iPhone have a built-in VPN feature?
No, iPhones do not have a built-in VPN service. While there is a VPN section in the settings, you must use a third-party VPN app, such as ForestVPN, to provide the VPN service itself.
How do I manually configure a VPN on my iPhone?
To manually configure a VPN, navigate to Settings > General > VPN > Add VPN Configuration. Enter the details provided by your VPN service, including the server address and your login credentials.
Is ForestVPN a good choice for iPhone users?
Yes, ForestVPN is an excellent choice for iPhone users. It offers a no-log policy, is licensed in the UAE, and features like eco-friendly technology and an ad blocker, making it both secure and user-friendly.
Should I keep my VPN connected all the time?
While keeping your VPN connected provides better privacy and security, it may drain your battery faster and could slow down your internet. It’s advisable to connect it when using public Wi-Fi or when privacy is a concern.
What extra features does ForestVPN provide?
ForestVPN offers features such as split tunneling, which allows you to choose which apps use the VPN, and an ad blocker for a cleaner browsing experience.
